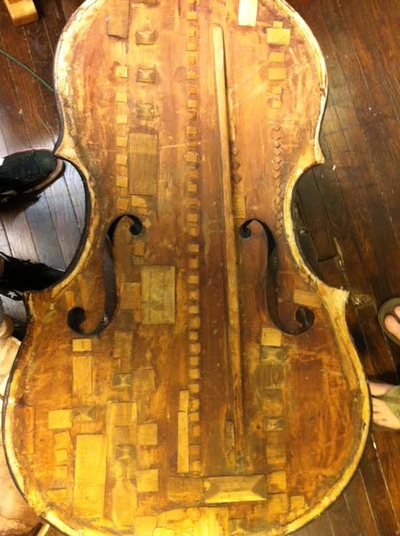
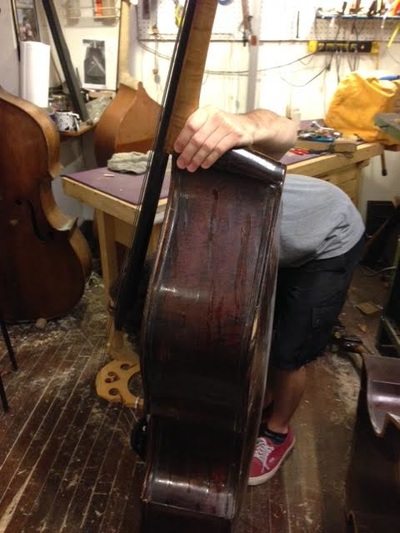
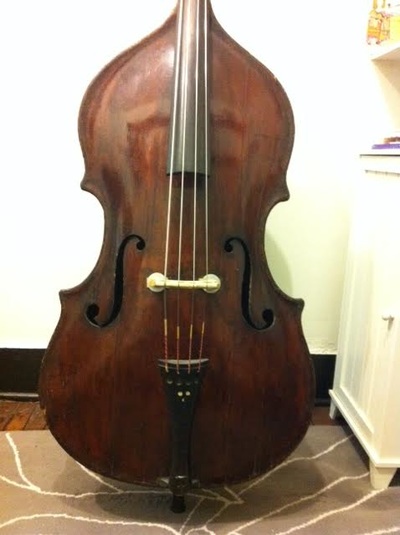
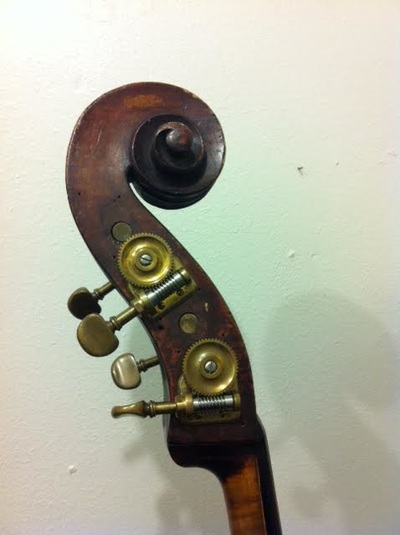
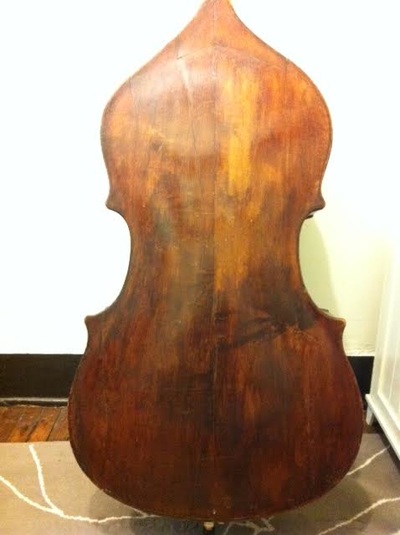
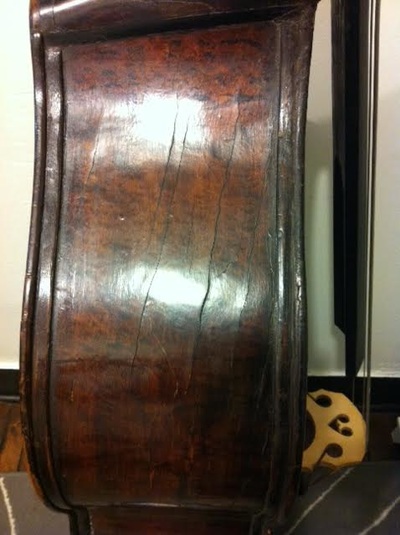
Andrew, a bass major at Sam Houston State, bought this beautiful smaller-sized bass at QBC in 2013. The body is about a 5/8, though string length is 40.5"; it features birdseye maple ribs and poplar back, and it sounds as big as a regular 3/4 bass. It had a LOT of old repairs, but was checked over and solid.
Some months later, Andrew started working at QBC as an apprentice repairman - and his bass started buzzing from an old crack. The bass was still under QBC's warranty. The saga began when the repair department opened the bass to glue up one loose patch and discovered the imminent failure of old, poor-quality repairs...and ended 11 months later after an interior restoration.
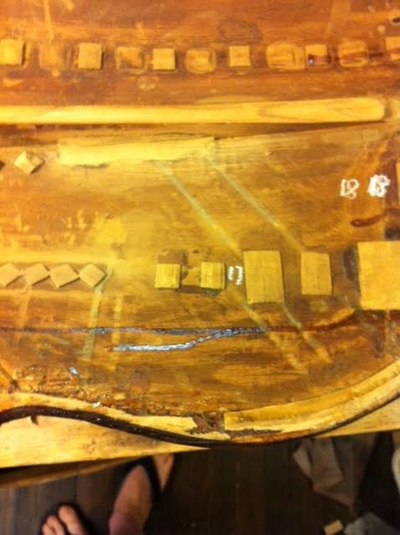
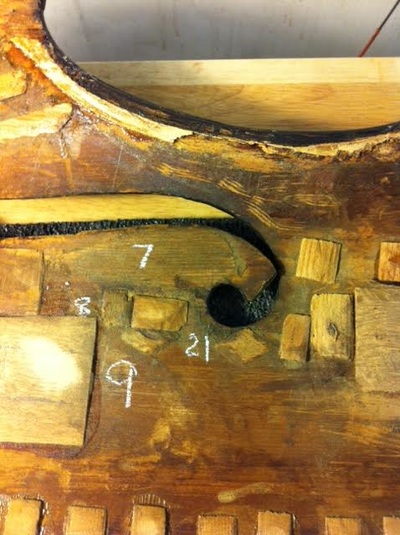
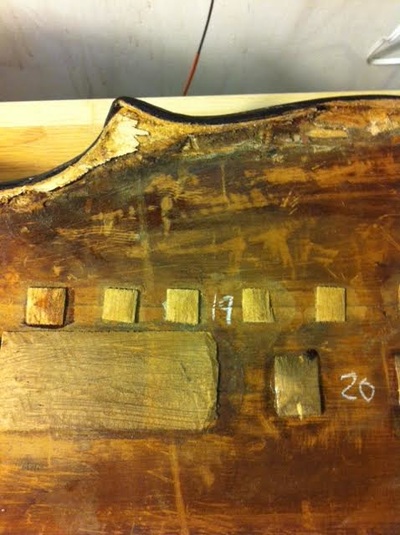
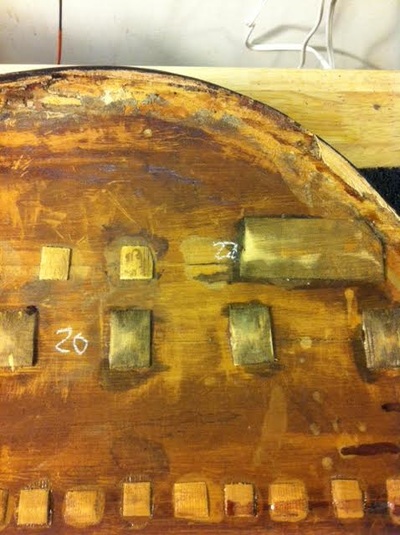
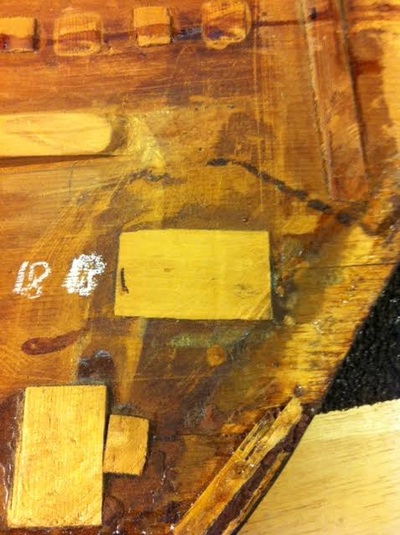
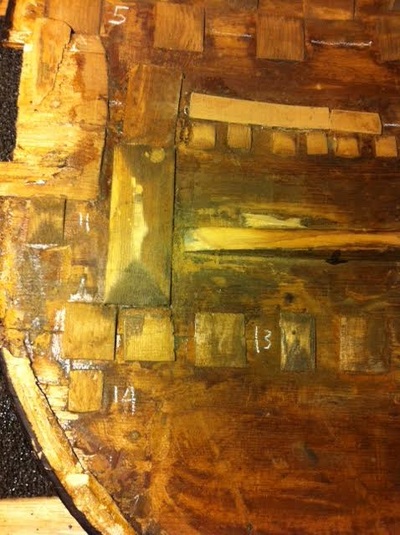
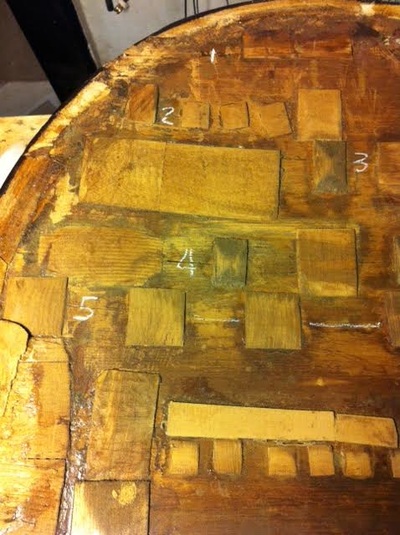
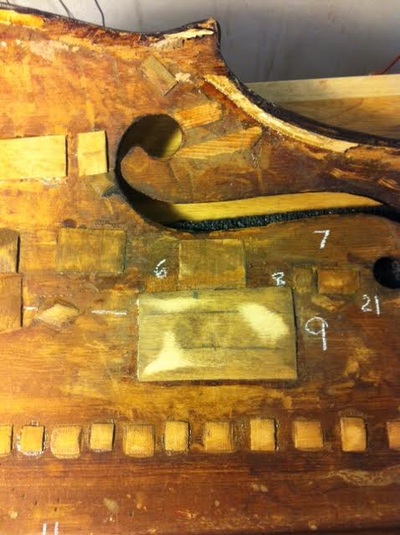
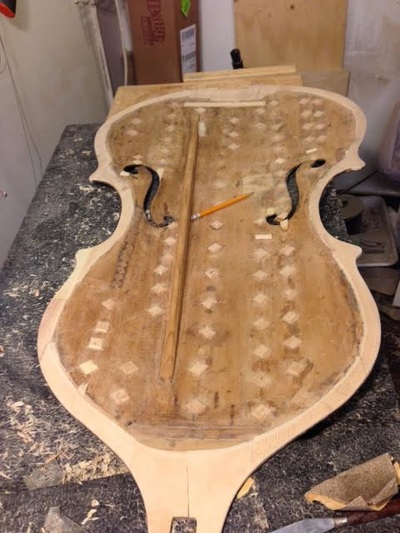
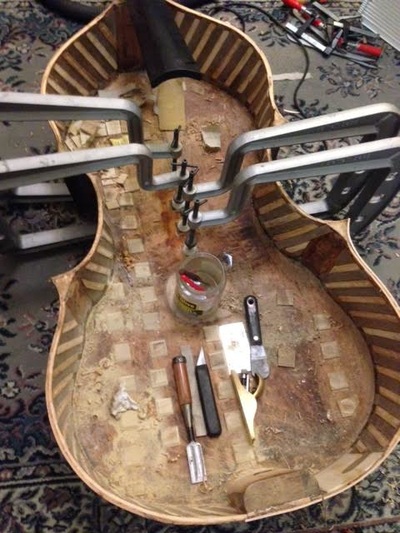
The inside of the bass had dozens of old patches from multiple repairs, placed in haphazard fashion, in places overlaying each other, and many made from woods not appropriate to a top plate. Judging by the tool marks, some of the repairs possibly dated to the 19th century. Before removing the old patches, we catalogued the cracks, so we could later verify they were all patched. We counted 22 top cracks (not a huge number for an old bass!). A thick soundpost patch (location 9) had been installed OVER an older, inlaid soundpost patch!
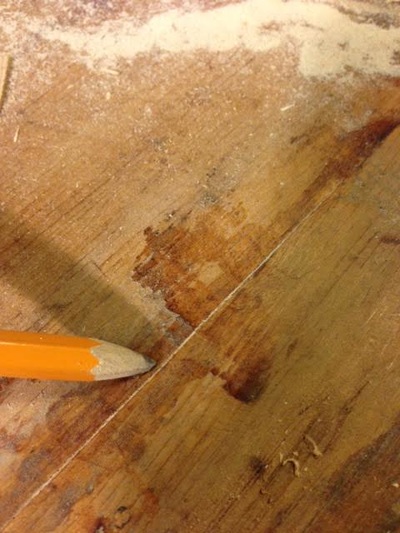
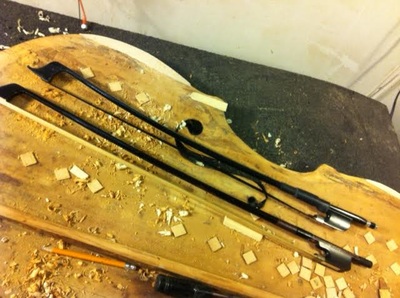
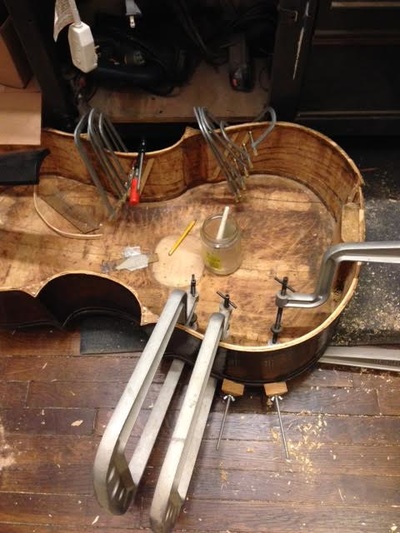
Due to wood shrinkage, some of the old cracks would not close completely, so we patched them with extremely thin shavings of spruce (left). The edges of the top had formerly been repaired with wood filler, patched over with wood, and had a hard plastic filler over it ("Bondo" - spectacularly resistant to being chipped away or dissolved with solvents) - three layers of repairs that were scraped and planed off, then replaced with spruce re-edging. The grain direction of each new piece of new wood was very slightly offset, in alternating directions, to resist future splitting along the grain of the top plate. All cracks were re-patched with symmetrical pieces of spruce. Three of the four corners of the top, we found, were actually molded out of plastic body filler, which we removed and replaced with spruce that matched the top grain. Although there was a crack close to the bass bar, the bar itself was well-made, appropriately sized, and in good condition, so was left untouched, and the crack re-patched with cleats that didn't touch the bass bar.
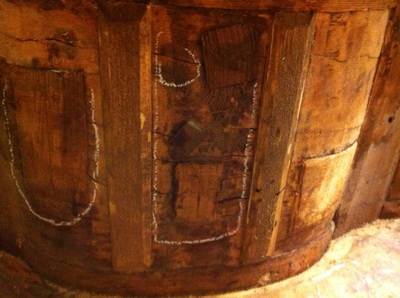
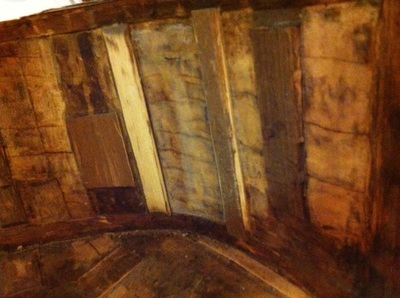
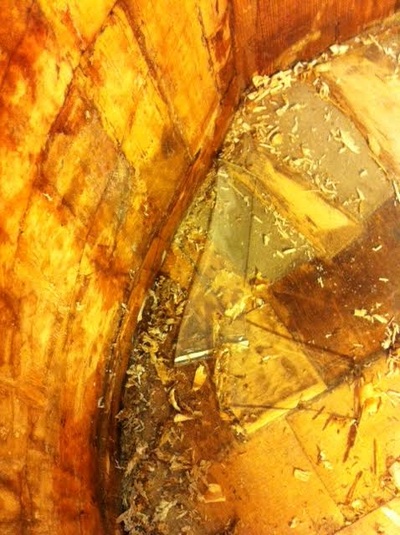
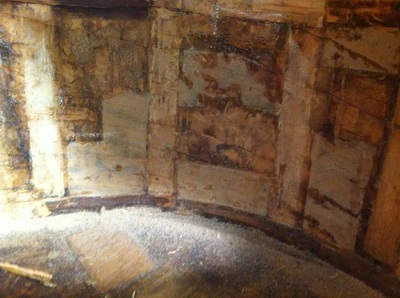
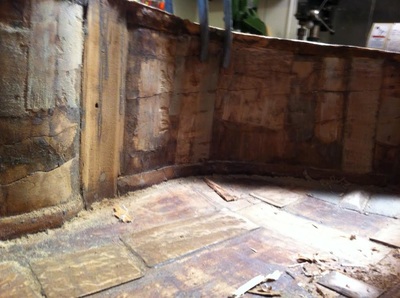
The ribs of the bass had a mosaic of thick (about 1/4"!) patches from ash wood completely around the rib garland, and installed perpendicular to the grain - exacerbating the cracking of the extremely thin, curly-maple ribs, and interlaid with numerous other patches from various woods and cotton cloth. Each old patch had to be planed paper thin (a challenge due to the extremely hard, stringy fibers of the ash), then wetted and scraped out using chips of glass. This was a daily project for several weeks - painstakingly picking at individual fibers of old patches and clumps of century-old glue that stank like an old dog. There remained a desolate-looking scape of glue residue and ancient oxidation (possibly a brushed-on coat of hide glue which darkened over years) - dramatic! Ultimately, all residue was scraped and sanded away.
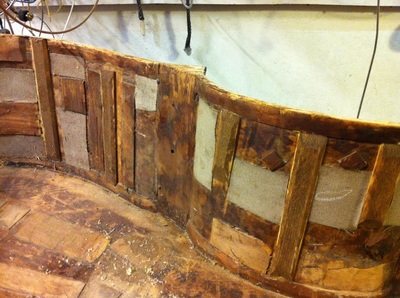
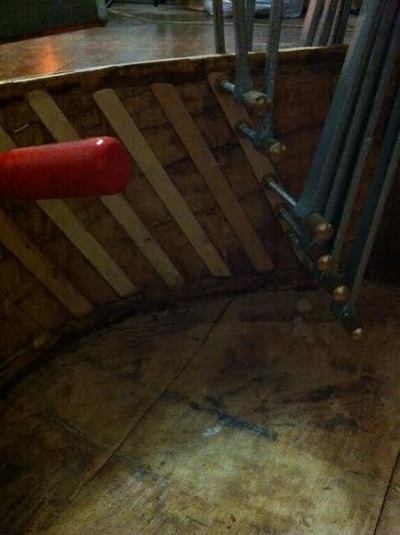
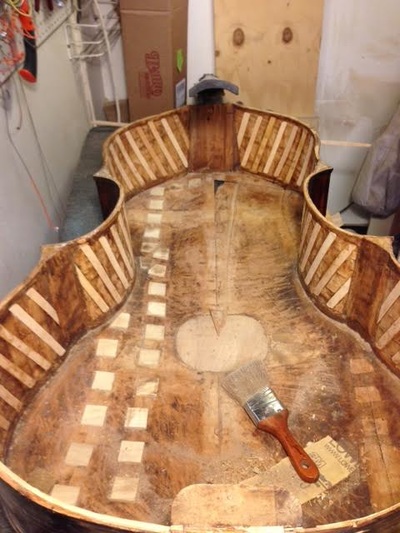
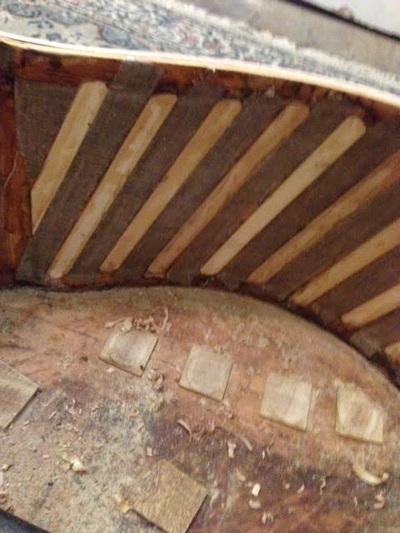
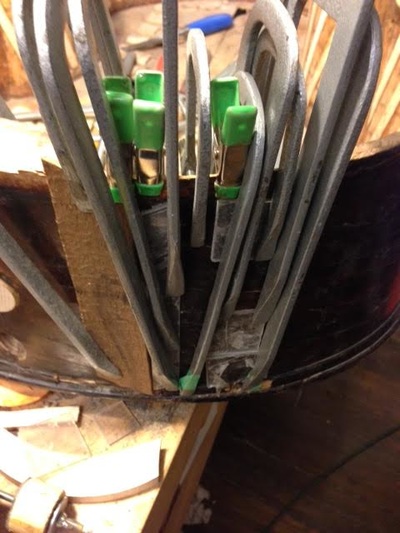
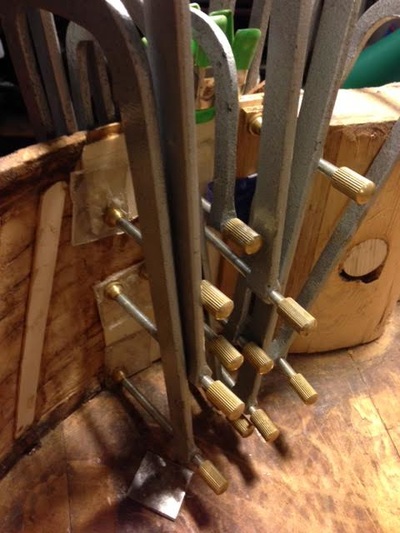
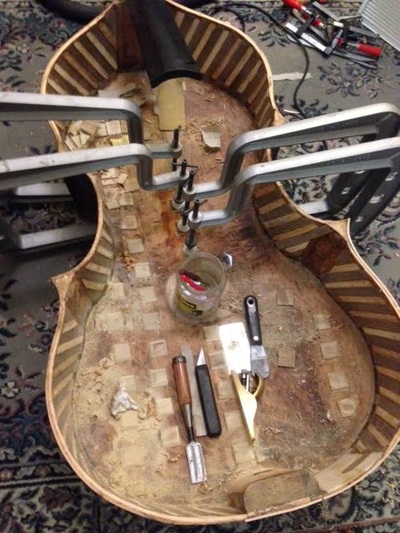
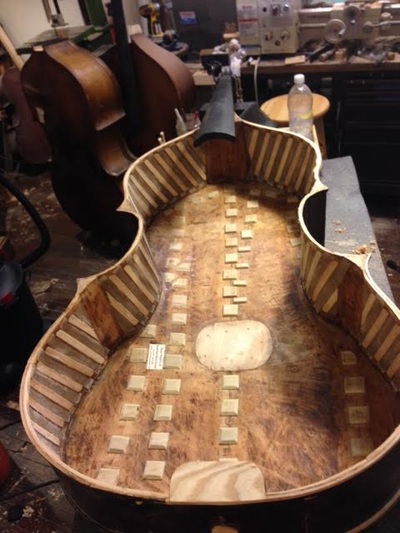
Since the ribs are extremely thin for a bass (about 1.5mm thick) and severely damaged, we considered completely lining the ribs with sheets of hardwood. However, before proceeding, we sought the advice of an expert restorer, who recommended cleating instead of lining. So, we made thin cleats and, after gluing and levelling the countless rib cracks, installed the cleats at an angle, which minimized shear and torsional stress on the rib material. Every third cleat was inlaid into a notch cut into the interior lining, to deter new cracks developing right at the edge of the lining. Each of the more than 60 cleats required at least 6 clamps to position, and 6 hours dry time.
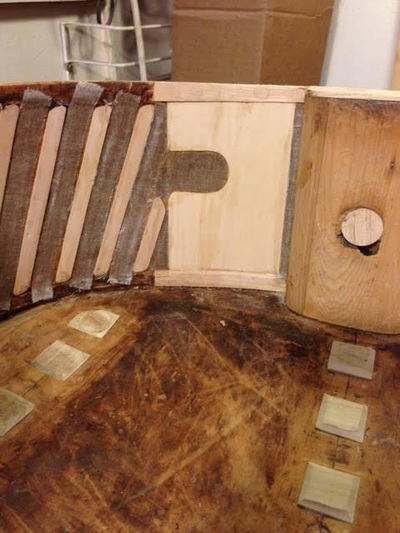
Once the ribs were cleated, we glued in traditional, unbleached linen strips between each of the cleats. We ended up with the conceptual equivalent of building a bike helmet inside the bass - strong, light, and flexible to resist cracking and to not interfere with the resonance of the bass. Everything is made of traditional and appropriate materials. In the left photo, you can also see some of the replacement linings being glued in.
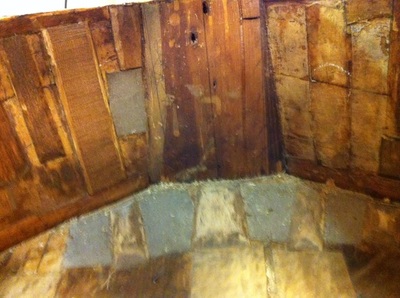
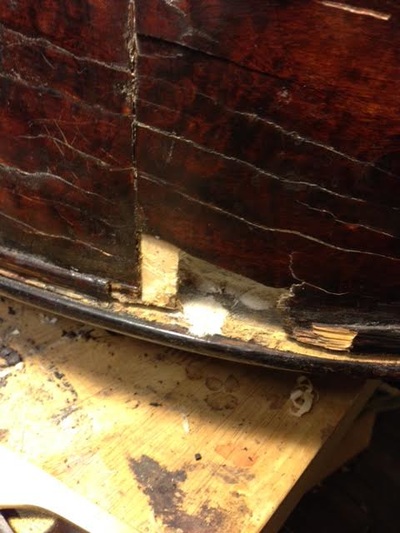
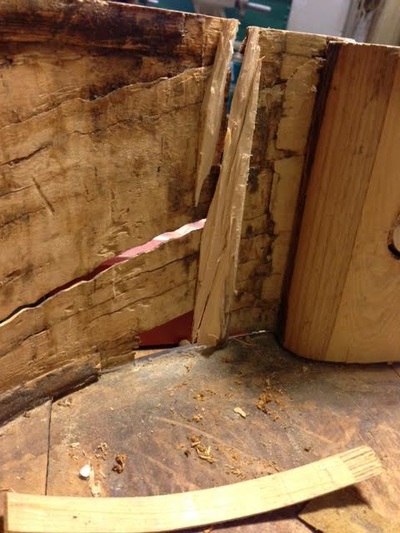
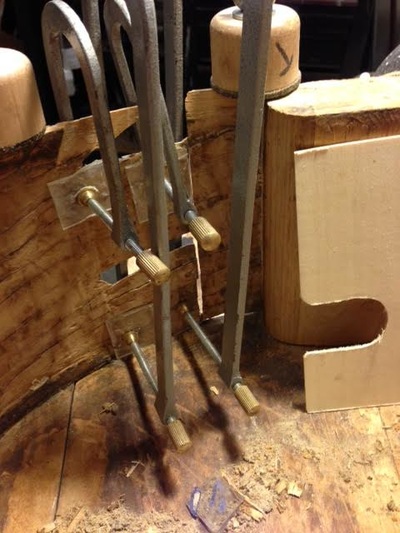
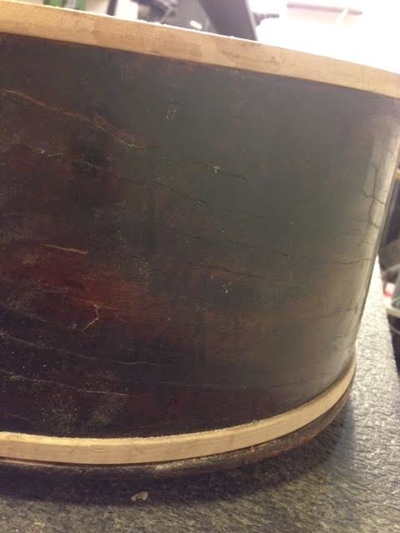
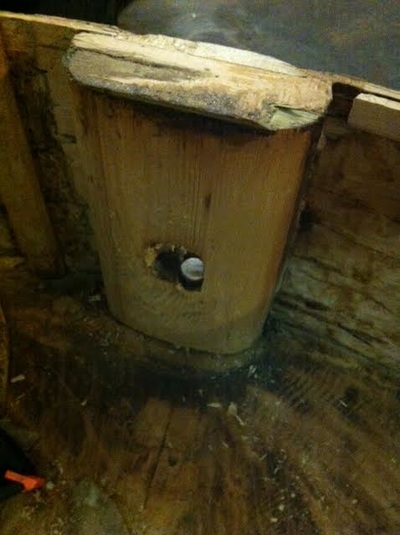
Near the endpin hole was a severely damaged area where the rib was falling apart in finger-sized pieces. We were able to understand for the first time the scheme by which this bass had been cut down in size (in the upper left photo, see a vertical split where the ribs had been pieced together). This bass, although very Italian in appearance, had been appraised as a German bass because of its exterior linings. When replacing the broken pieces, we could see they were made from spruce, rather than maple - evidence the exterior linings were NOT original and the top, back, and ribs had all been cut down from a larger bass. It took days to piece this section back together. The lower right photo shows it repaired, lined, and patched.
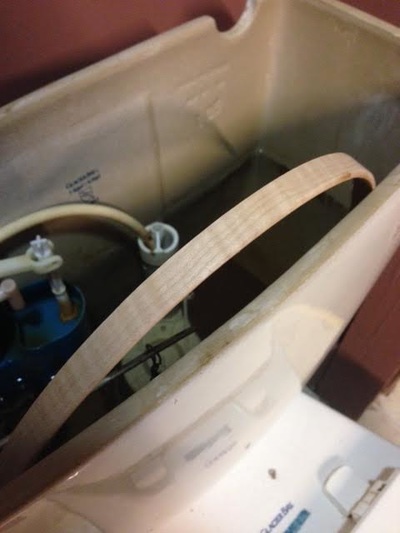
Broken pieces of the spruce exterior linings were replaced with flamed maple (soaked before bending in the only available vessel)
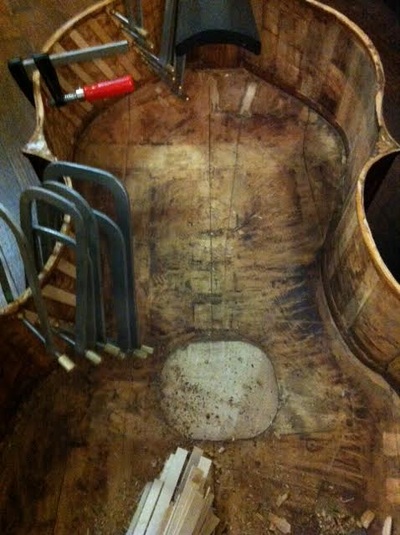
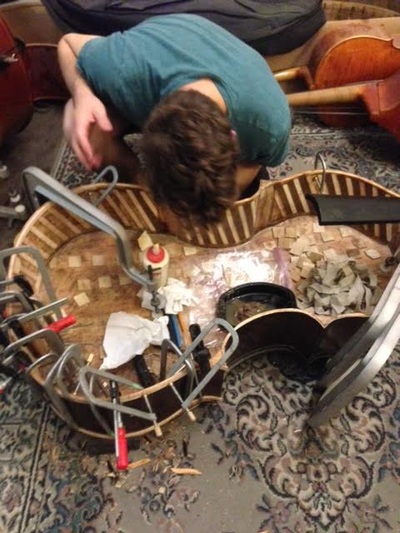
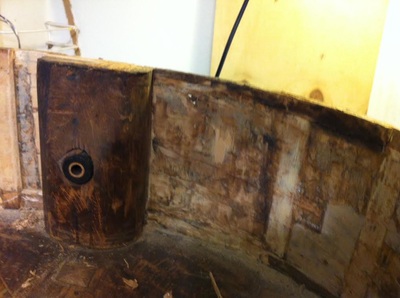
Other repairs were replacing all the patches on the poplar back of the bass with symmetrical poplar patches (left), and cutting down the hugely oversized end block (possibly a remnant from the days when it was a larger bass) by about 16mm (see the former outline of the end block in the right photo). Bottom row photo: the body is prepared for the top plate to be glued back on.
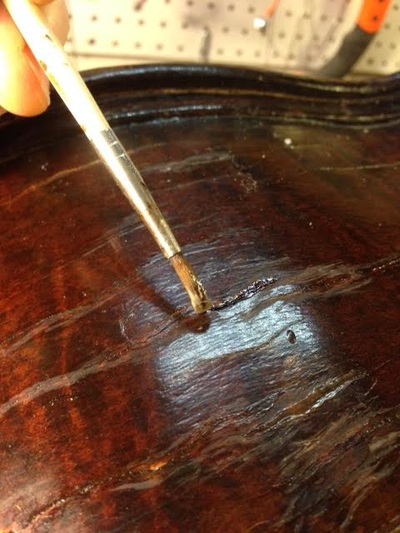
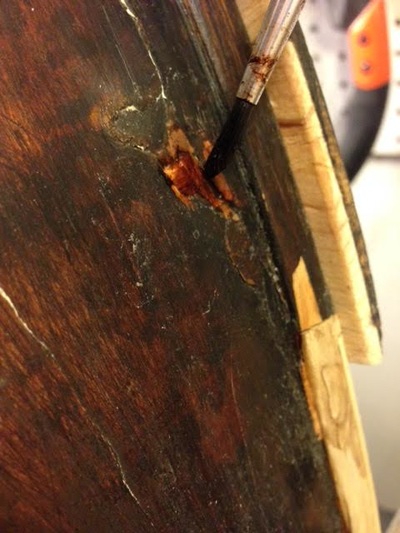
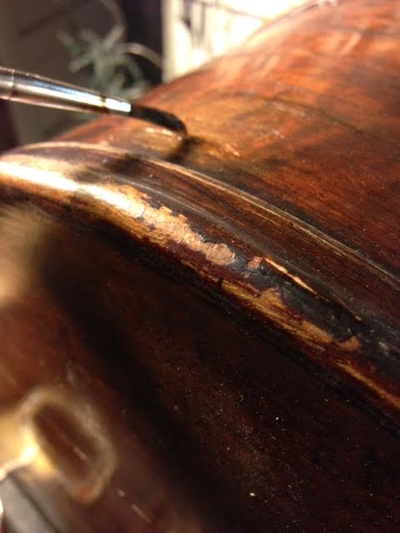
Due to the extreme number of added parts, and all the gluing and clamping of materials in every direction, it took two weeks to gently convince the rib garland to conform to the outline of the top plate. We glued the top on in small sections, dry-clamping each subsequent section in place for a few days until it could be glued in place without undue tension. Then, we began varnish touchup. Most small missing pieces of wood were replaced with like wood. All the (many, many) rib cracks had been re-opened, levelled as much as possible, and re-glued, but some of the rib material was very degraded - edges of cracks worn or rounded. Where it was close to the level of the varnish, lacquer was added so we could smooth the surface. This was practical in some areas.
May, 2015 - major repair completed, the bass is sounding more open and free! Almost everything in this project was structural, and didn't address updating the neckset, fingerboard, or a great deal of the cosmetic work that could be done. We concluded not only that the bass had been cut down, but it's likely older than 1850.
